Precision from Start to Finish: One Part’s Centerless Grinding Process
At United Centerless Grinding & Thread Rolling, we’ve been perfecting our centerless grinding process since 1960. Over those six decades of experience, we’ve learned the precise techniques that have led customers to trust us with some of their most demanding projects.
Even so, not everyone in manufacturing understands the benefits of centerless grinding for tight tolerances, multiple diameters, and economical production. In fact, new customers often tell us they wish they’d found us sooner, but familiarity led them to stick with a different vendor or process.
To help show what makes our work unique, we’re exploring the process behind a real part: a nitralloy valve we manufactured in-house for an aerospace customer. This part required 11 operations to grind down to its final shape, and we’ll walk you through some of the key stages.
Understanding Our Centerless Grinding Process
11 operations may seem like quite a few, and some parts may require up to 25 operations depending on complexity. Why are so many steps required? Ultimately, this is what leads to the precision our customers require.
Each step in our process allows us to:
Maintain concentricity across all features
Control deflection
Achieve tight tolerances
Meet surface finish requirements
On a lathe, machining many of these features would create deflection issues, especially if large amounts of material were removed from small-diameter sections. But in centerless grinding, our step-by-step approach, starting with roughing before progressing to finishing, ensures accuracy.
The images below depict us taking a solid blank and putting it through several different operations to reach a final product.
The Stages of One Part’s Centerless Grinding Process
Operation 1: Creating a Uniform Blank
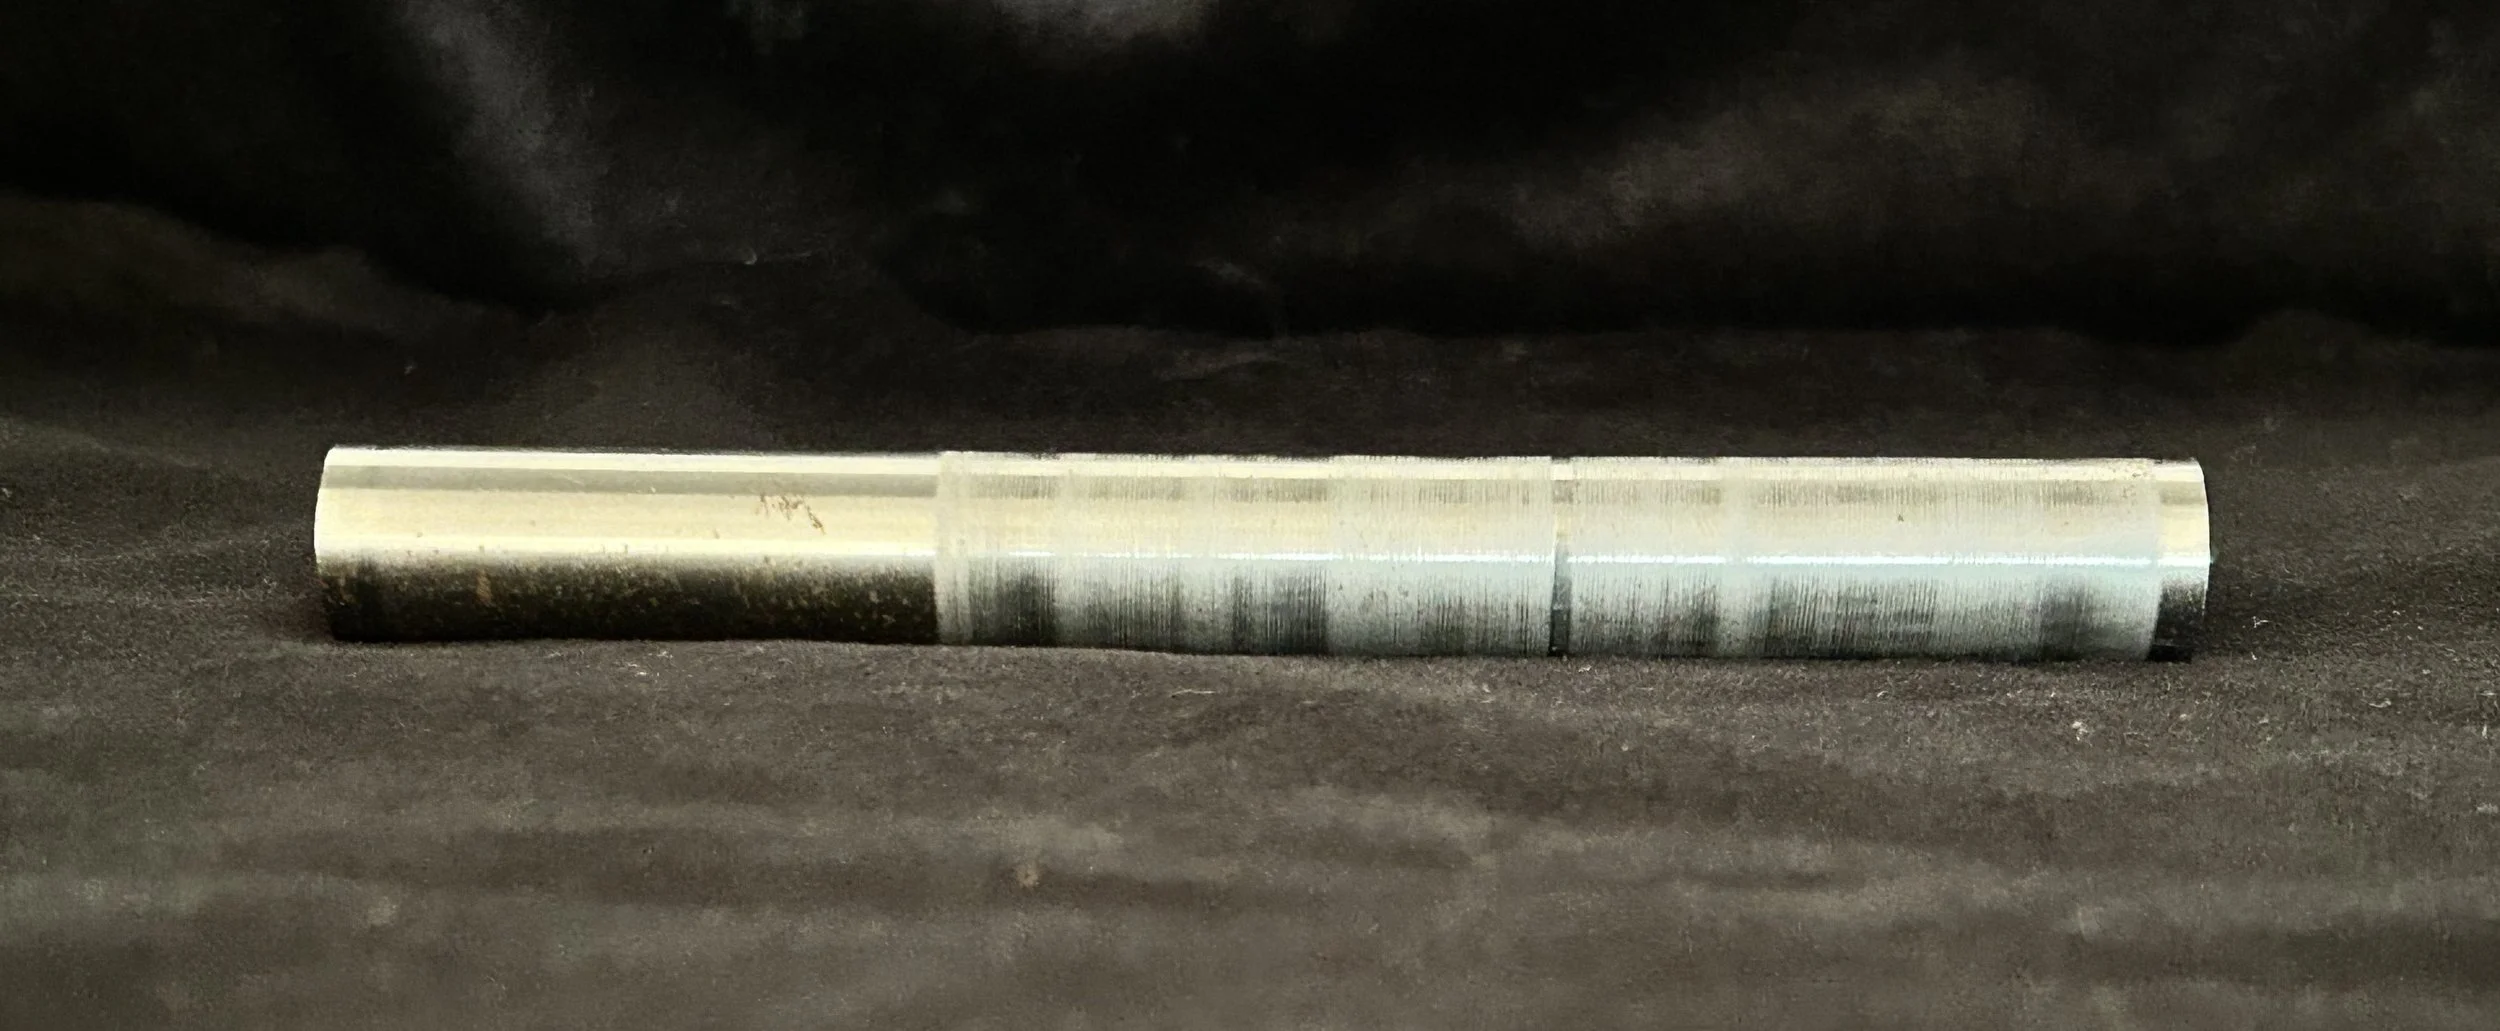
At UCGTR, a part’s journey often starts with one of two types of centerless grinding: thru feed and bar grinding. These methods are used to create a uniform, round starting blank for later operations. In this image, the piece has already undergone thru feeding to make a uniform round blank.
Stock material often arrives oversized or slightly out of round, so thru feeding creates straightness and size consistency. After thru feeding, the part moves into form grinding operations.
Operation 4: Adding Necks
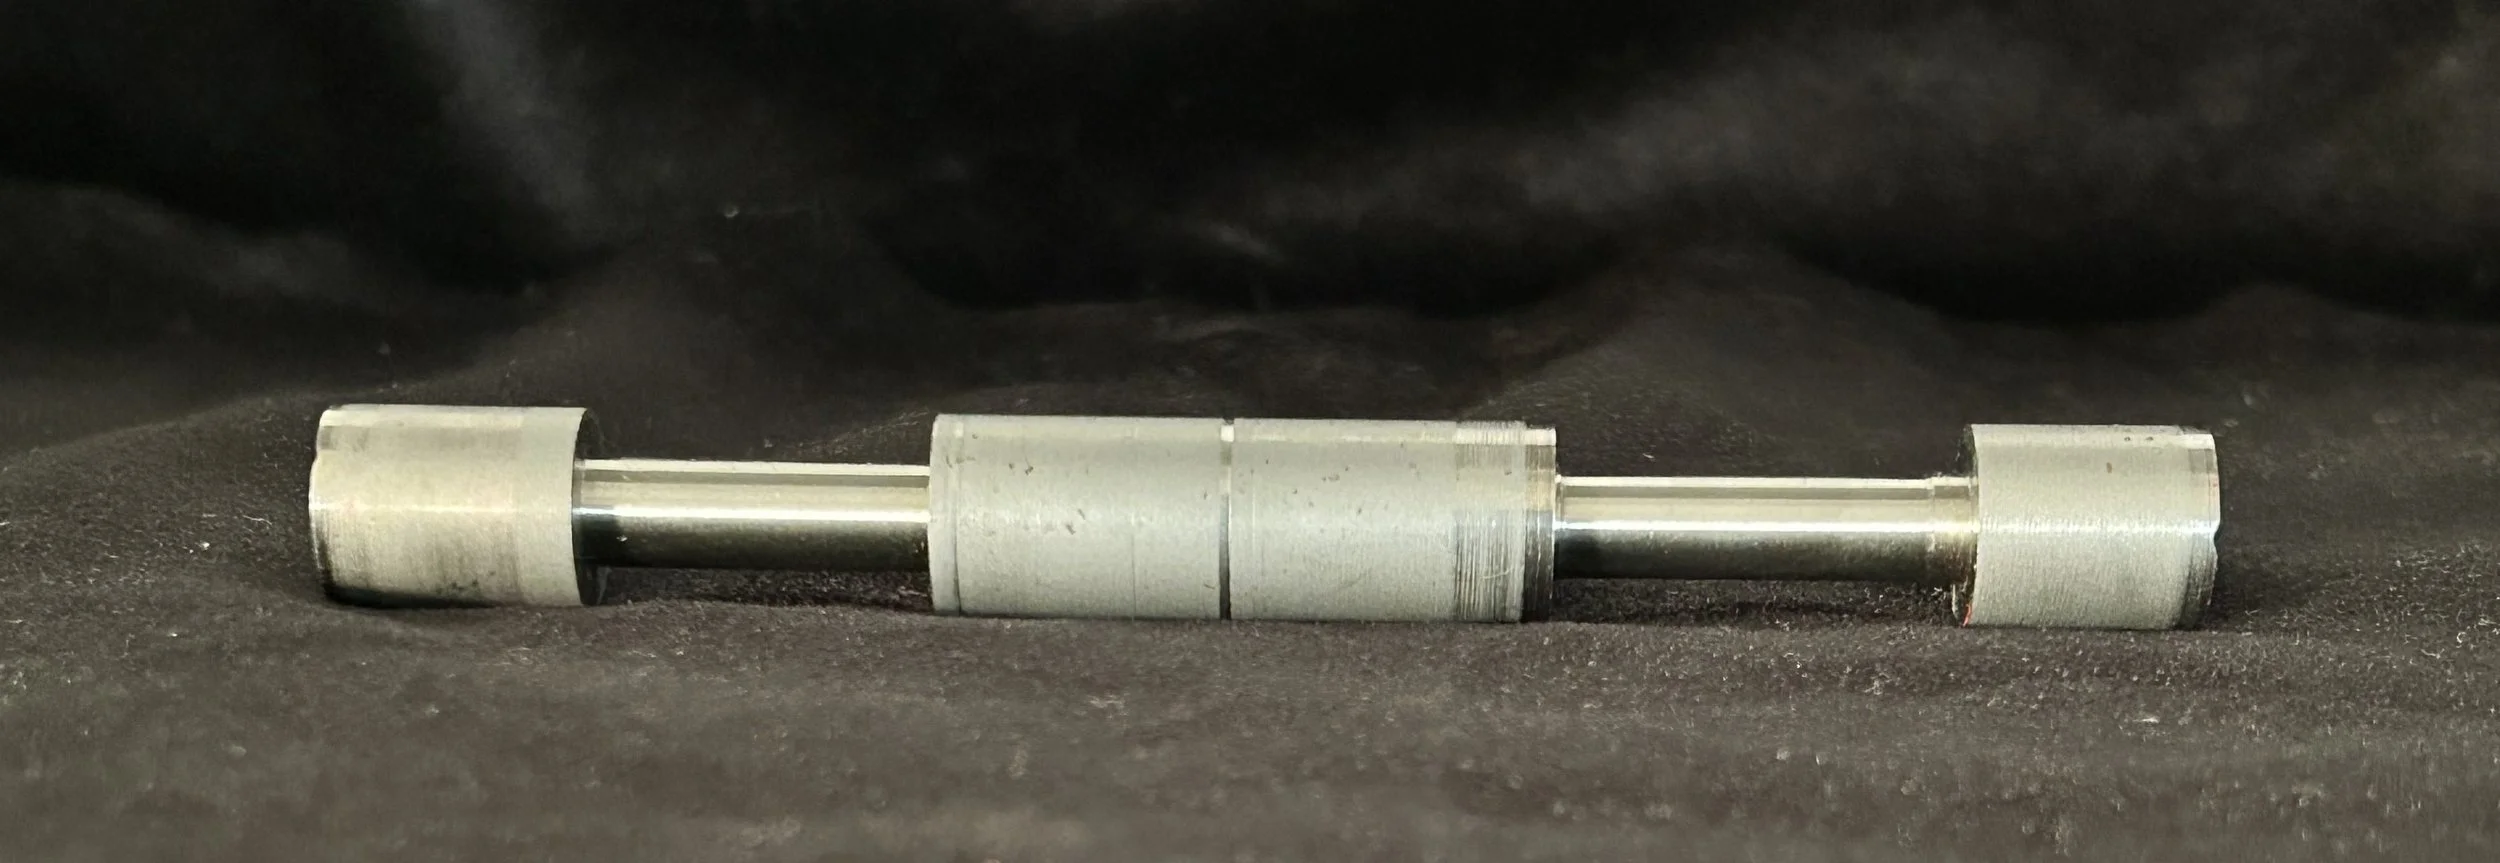
At this point, we’ve begun adding necks to the part. Note that the neck on the left side is smaller than the right, so we grind the wider feature first, then trim down the wheel profile to create the smaller neck after flipping the part. This strategy reduces setup changes, wastes less of the grinding wheel, and speeds up production overall.
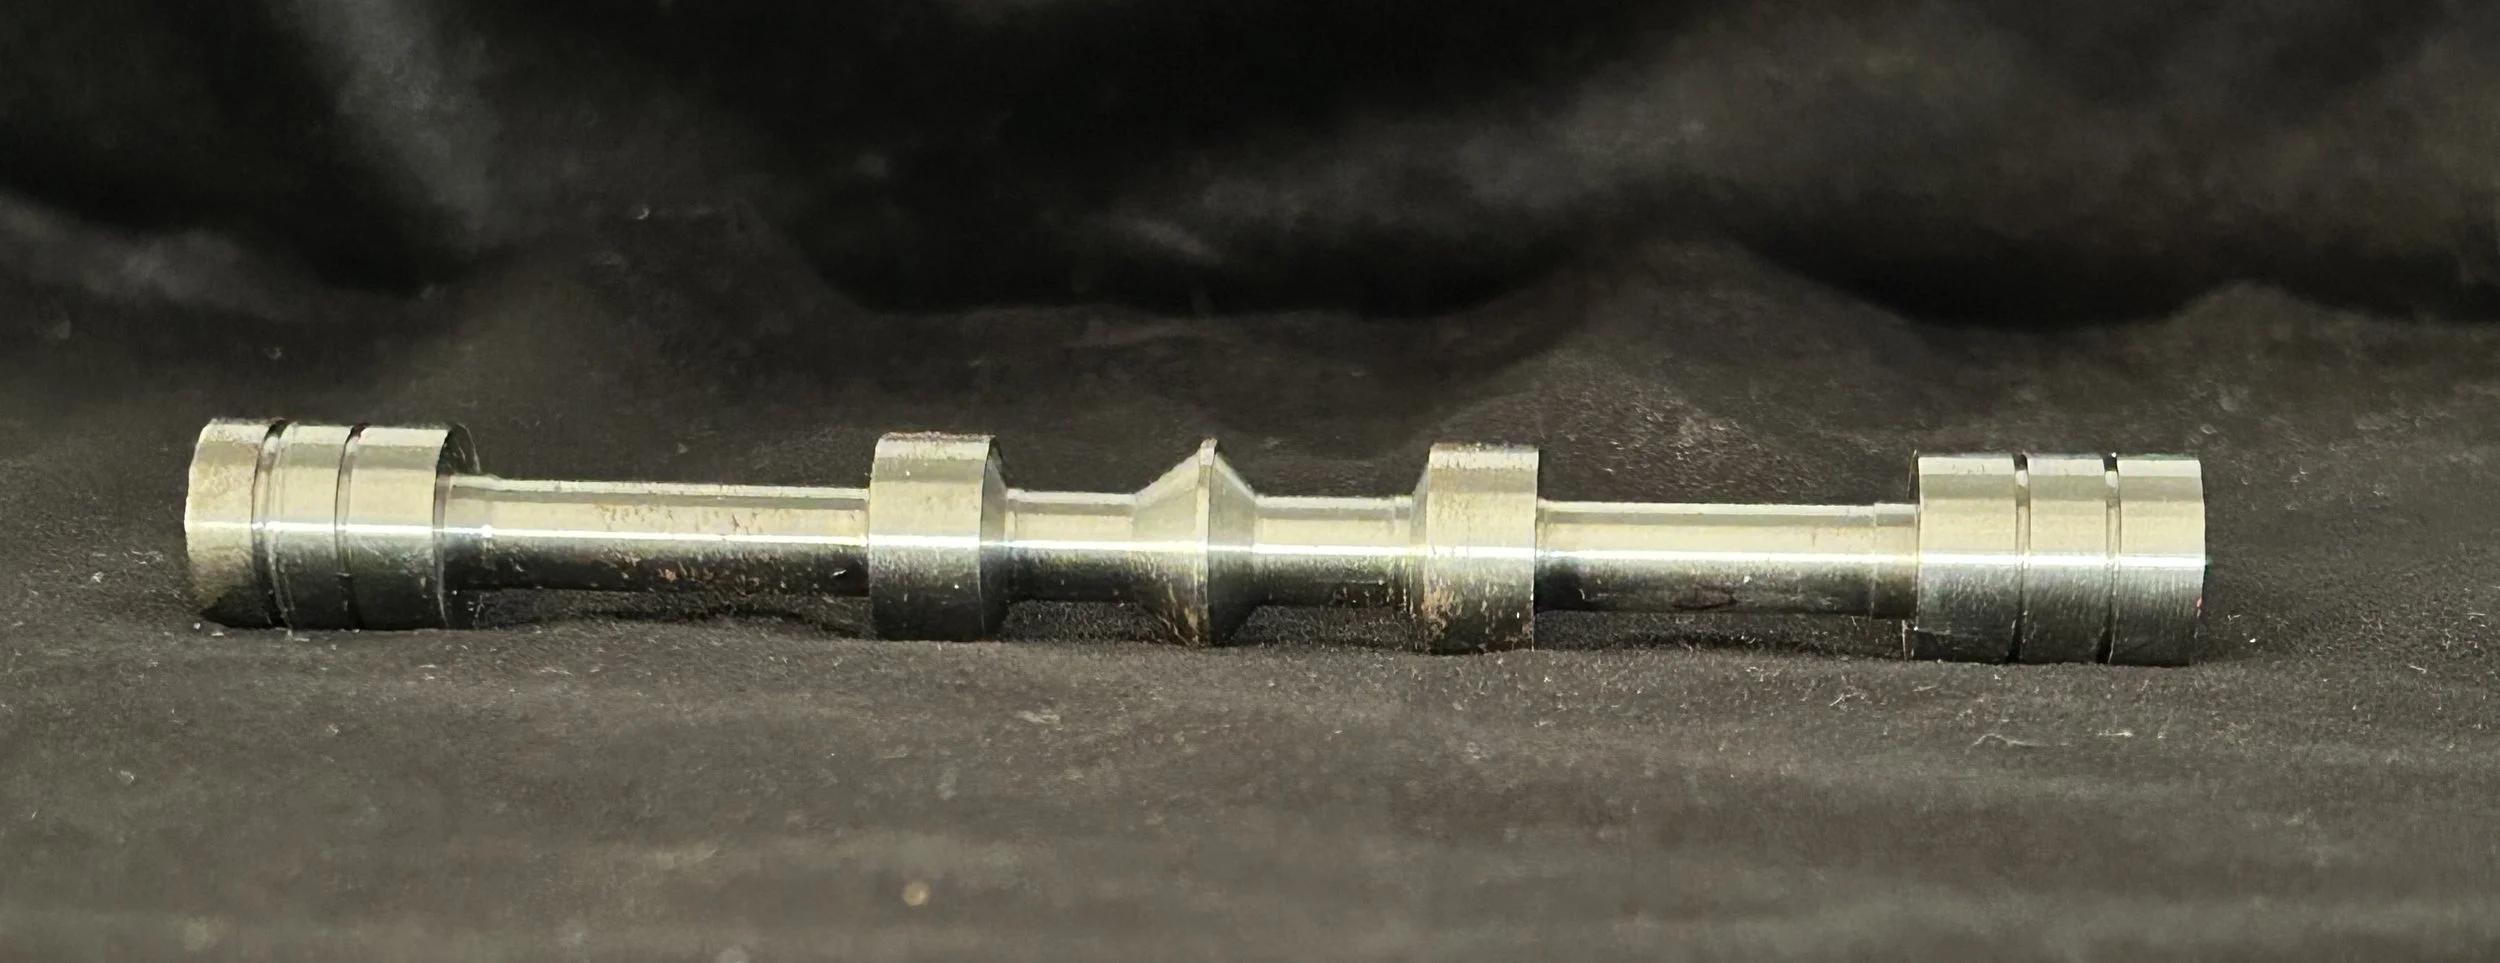
Operation 7: Angles and Rough Passes
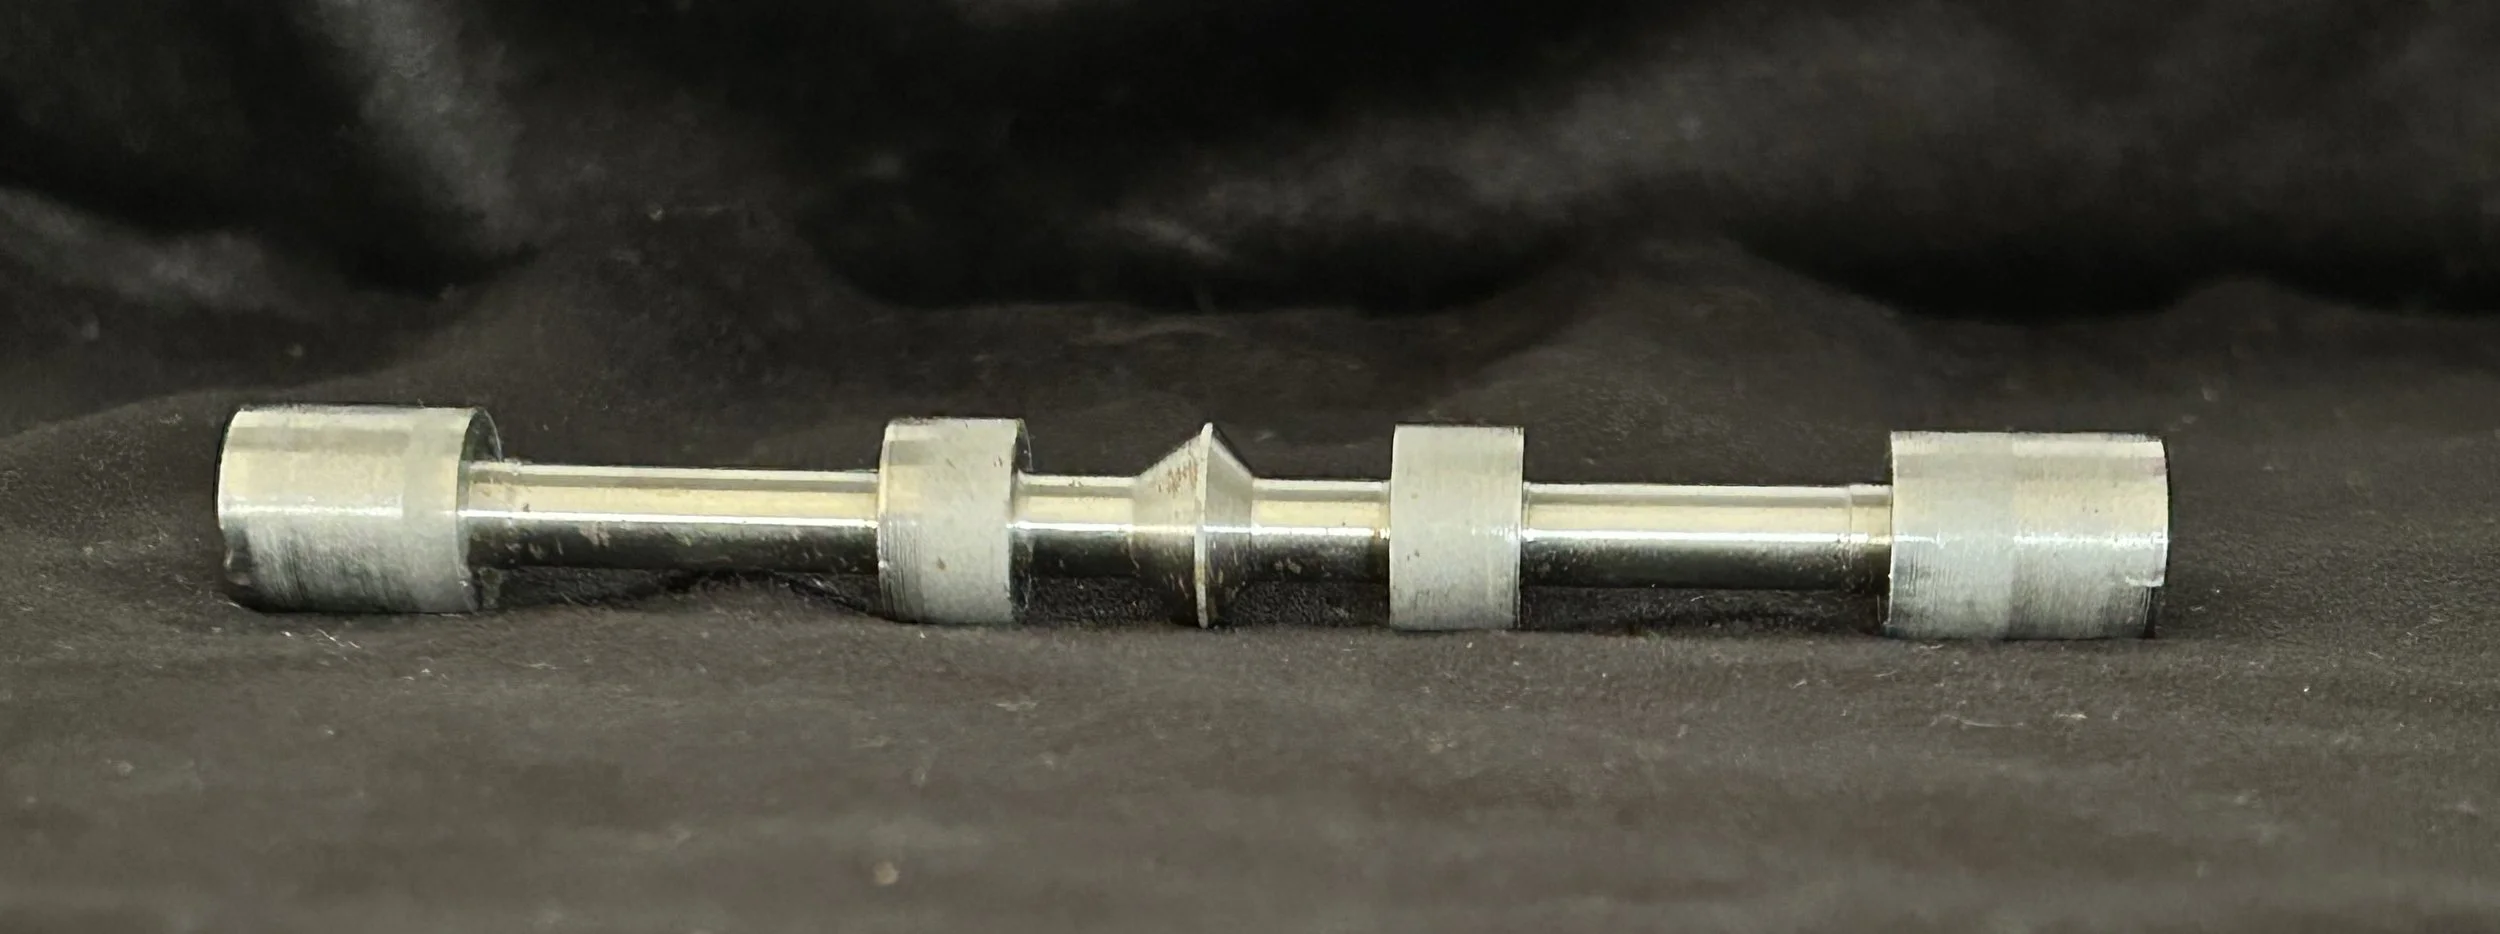
By this step, we’ve added angled features. You’ll notice one side has a shallower angle, requiring multiple operations to achieve each geometry.
Note that in all of these initial operations of the centerless grinding process, we don’t achieve a part’s final dimensions all at once. Instead, we rough a feature to be slightly oversized, before returning in a later operation for a finishing pass. This helps prevent deflection and ensures features stay in tolerance. At UCGTR, we know exactly how much we can take off to minimize production time without removing so much that we risk compromising a part’s quality.
Operation 9: Why Intricate Grooves Are Better With Centerless Grinding
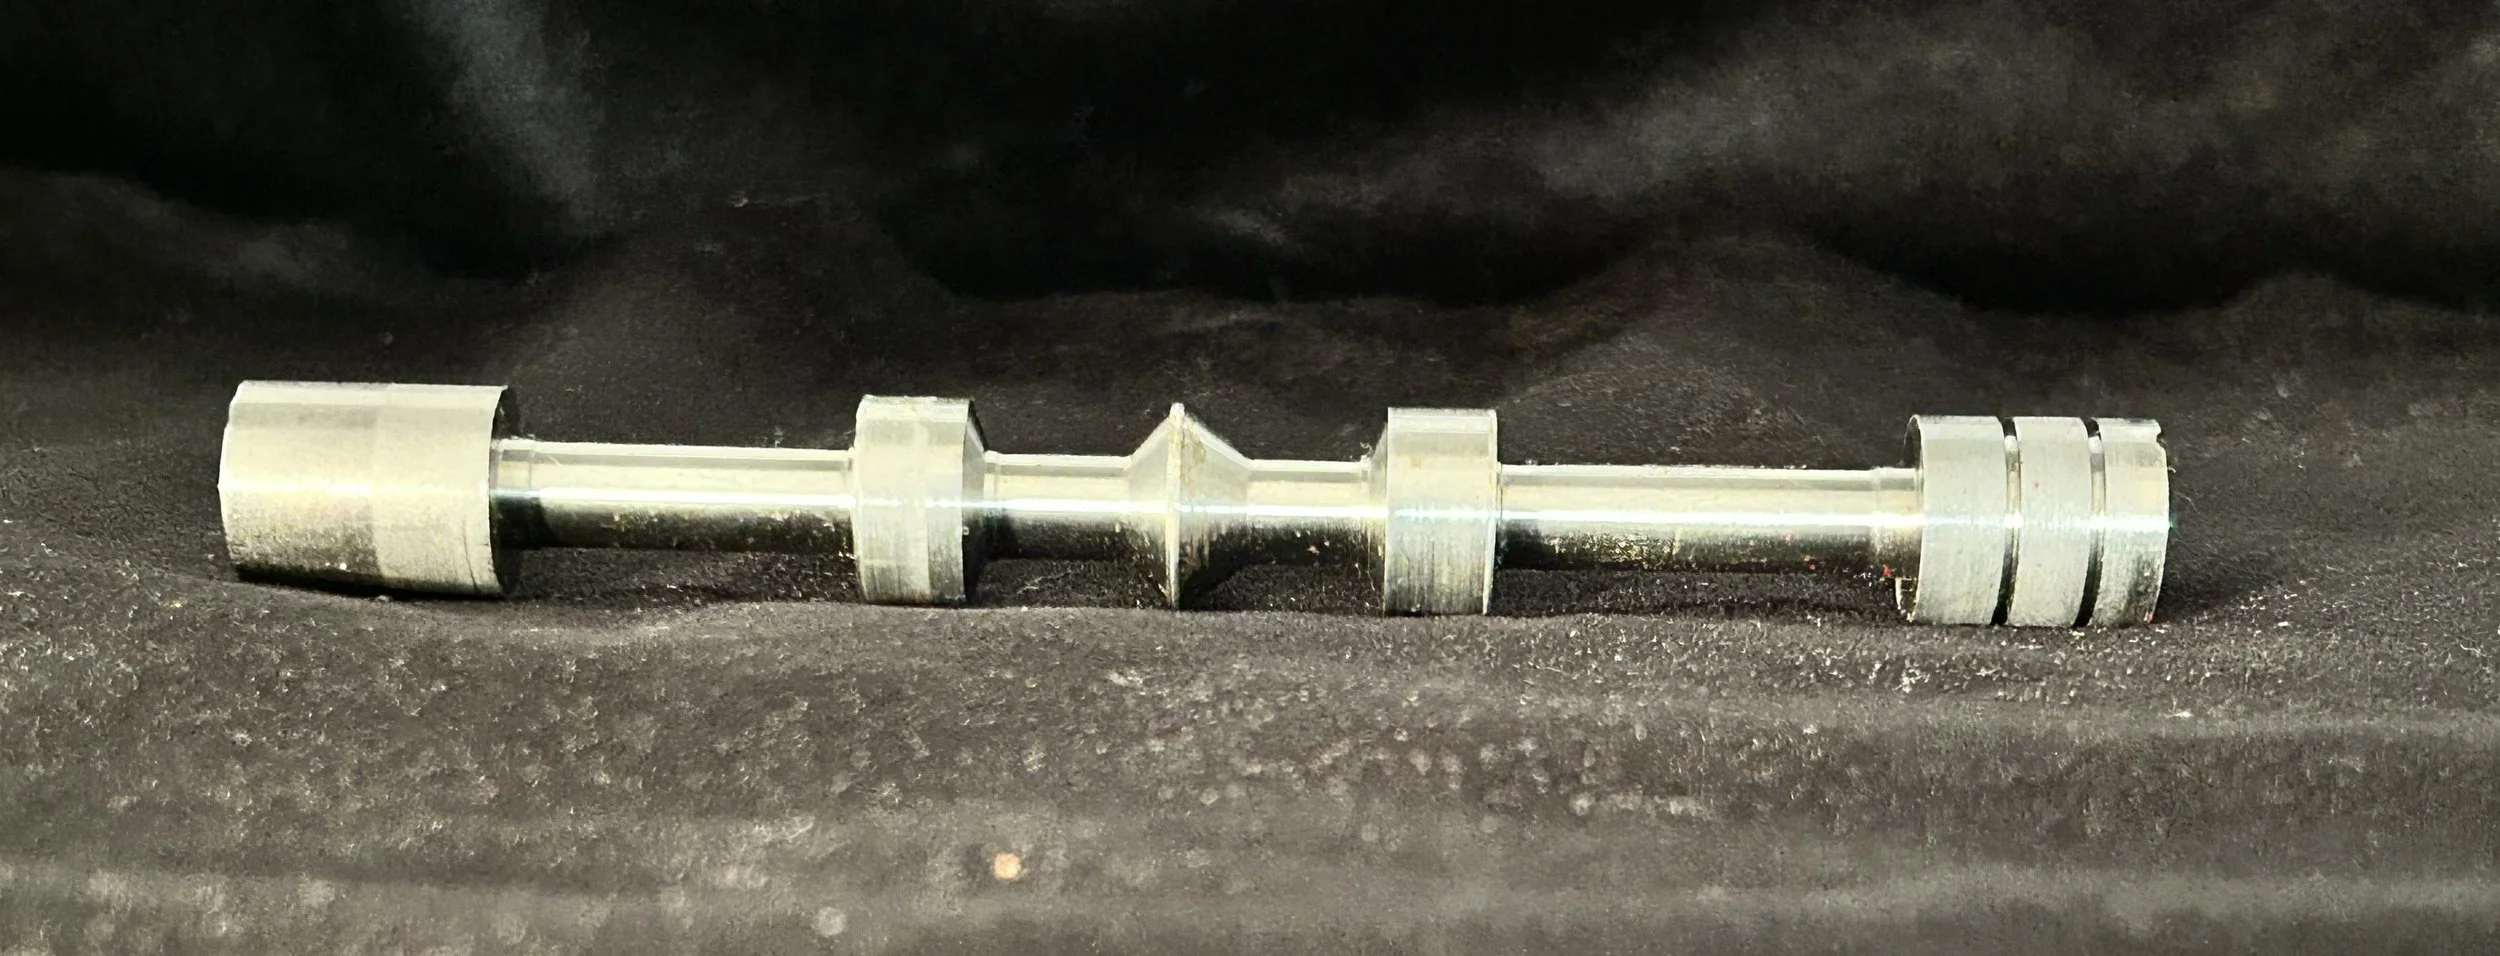
In this step, we’ve added two very small grooves. We often talk to customers about the differences between centerless grinding and conventional turning for certain parts and features. These grooves, for instance, would be easy to machine on a lathe, but significantly slower due to the need for collet changes. The speed of our centerless grinding services makes them a better choice for production runs.
Operation 11: Final Cleanup and Inspection
In the final step, the part goes back to the thru-feed process to touch up the top surfaces. These passes give the part a uniform finish and help to meet finish specifications. From here, a part moves into inspection; as an AS9100-certified machine shop, our inspection process is performed according to specified requirements and protocols. We use a sophisticated Keyence vision system to verify every dimension in a single scan.
Partner With UCGTR for Your Challenging Parts
This valve featured a variety of challenges: it was not only made from a difficult material in nitralloy, but it also required a number of careful operations. But our customer trusted us for a reason. Our team’s experience and the institutional knowledge we’ve built over 65 years allow us to deliver quality every time.
Request a quote today or contact us to learn why our precision grinding company may be perfect for your next part!